When we bought our house in June of 2015, my wife and I knew what kind of home we wanted. Sure, we took some time to tour other neighbourhoods and walk through houses from different eras, but almost from the beginning of the process, we knew that we wanted a brick home that was built in the early decades of the last century. The place that we settled on was built in 1927 and is in wonderful condition, thanks in no small part to the work that the previous owners put into it.

The house sits on a decent sized lot in an old neighbourhood with large mature trees. To the back of the house, at the end of the driveway, there’s a detached single-car garage. It has not been taken care of in the same way that the house has.

It was pretty clear to us that the garage was going to need some work, but we weren’t sure what to do with it. The building was structurally sound, but it needed a new roof, new exterior siding, new doors, and new windows at the very least. It wasn’t insulated, and there was no electricity running out to it, so it wouldn’t really be a useful space after dark or during the winter.
In the weeks after the move, I set up a basic workshop in our basement. We have a large room down there that worked well, but the noise and dust got on my wife’s nerves, and moving stock in through the side door and down a narrow set of stairs was a pain. Soon enough, I had decided that the garage would become my new workshop.

In August, I worked with my father in law to rip down the lean-to behind the main garage. It had been used by humans as a garden shed, and by squirrels as a winter home for years, and was in bad shape. In September, we put a new roof on the garage, and I replaced the fascia boards, which had long since rotted through.

Come October, it was time to start on the interior. I had an electrician run a couple of spare circuits out to the garage, and finally got some light and receptacles into the building. With power in place, the work could begin in earnest.

The first job was to build a ceiling. In the image above, you can see new ceiling rafters that I installed at 8′ above the floor. It was challenging, in no small part because the floor isn’t level. As such, I had to choose a place to use as the measurement point, and then hang the rafters relative to that point using a plumb bob and a level.
In the image above, you can also see my first attempt at insulating the ceiling. I ended up pulling most of that insulation down, because the area between the ceiling and the roof is meant to be cold. Instead, I put the bats of insulation in the flat part of the ceiling, leaving the sloped bits above the rafters uninsulated.

With the rafters up and the building properly insulated, the next step was to sheathe the walls with 1/2″ OSB. Since the space is meant to be a workshop, I decided to use plywood instead of drywall, as I figured that it would take more abuse over the long term.

Given the age of this building, I suppose it should be no surprise that none of the corners in it are square, which made cutting the sheets of OSB to fit very challenging. You can see some gaps in between the sheets that I couldn’t manage to massage out, regardless of how much swearing I did.

Even though they were small, the gaps between the sheets really bothered me, especially in the corners where they were particularly bad. Since I couldn’t get the sheets of OSB to fit correctly, I decided to apply liberal amounts of spackle to the issue. Once sanded and primed, the room started to look really great.

I finished the room with a coat of grey paint. With the painters’ tape removed, the room really started to look like a real space.
To be honest, I’m still kind of surprised at how well it worked out. After all, I spent every weekend working on the project over a span of four or five months, and at times, it definitely felt like it would never be finished.
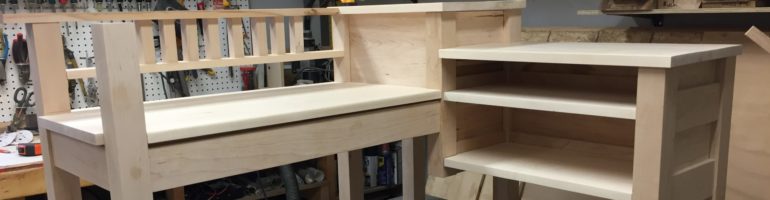
I still need to replace the doors, windows, and exterior siding, but those jobs can wait until next summer. For now, I’m just happy to have a working shop again.

This is great stuff, Jon! I know who I’m calling next time I have a DIY project on the go. Too bad you couldn’t help me keep from mauling my fingers with a Skill saw last summer 🙂
Pingback: My 12′ Long Workbench | Jonathan Fritz
If you make 1 item, how much time do you spend making it?